InvenioRDM Demo site
The production demo site is accessible at https://inveniordm.web.cern.ch. The QA demo site is accessible at https://inveniordm-qa.web.cern.ch.
Upgrade the instance
Both QA and production infrastructure project (OpenShift) are located at https://paas.cern.ch:
- inveniordm-qa
- inveniordm
- Sentry Error tracking. The QA environment tracks the errors of inveniordm-qa and the Prod environment those of the inveniordm site.
The steps to upgrade any of the two instances to a newer version or release are the same.
1. Upgrade code
Overall, you need to perform an upgrade so follow the upgrade guide released. Example of v6 to v7.
Code is on GitHub: demo-inveniordm.
Warning
To lock the Pipenv file, in your machine you need to have Python 3.7. No other versions will work.
This is because the base Docker image (at the moment of writing) is centos8-python:3.7.
Other Python version might install some Python packages that are not compatible.
-
Clone and make a local install of the code
cd ~/src git clone https://github.com/inveniosoftware/demo-inveniordm.git cd demo-inveniordm/demo-inveniordm # Create .invenio.private export cwd=`pwd` echo "[cli]\nproject_dir = ${cwd}\ninstance_path = ${cwd}\nservices_setup = False" >> .invenio.private invenio-cli install invenio-cli packages update 7.0.0 -
Create a PR with the needed changes. If you change
Pipenvdependencies, make sure that you also add the newPipfile.lockfile. To do so, locally in your machine, delete the previous .lock file and runpipenv lock. Note: This PR should not be the release PR as this would create a tag, the release PR is only created when upgrading the production site. - You can test such changes locally: the demo site is an InvenioRDM instance and thus can be used in your local machine with the usual invenio-cli commands.
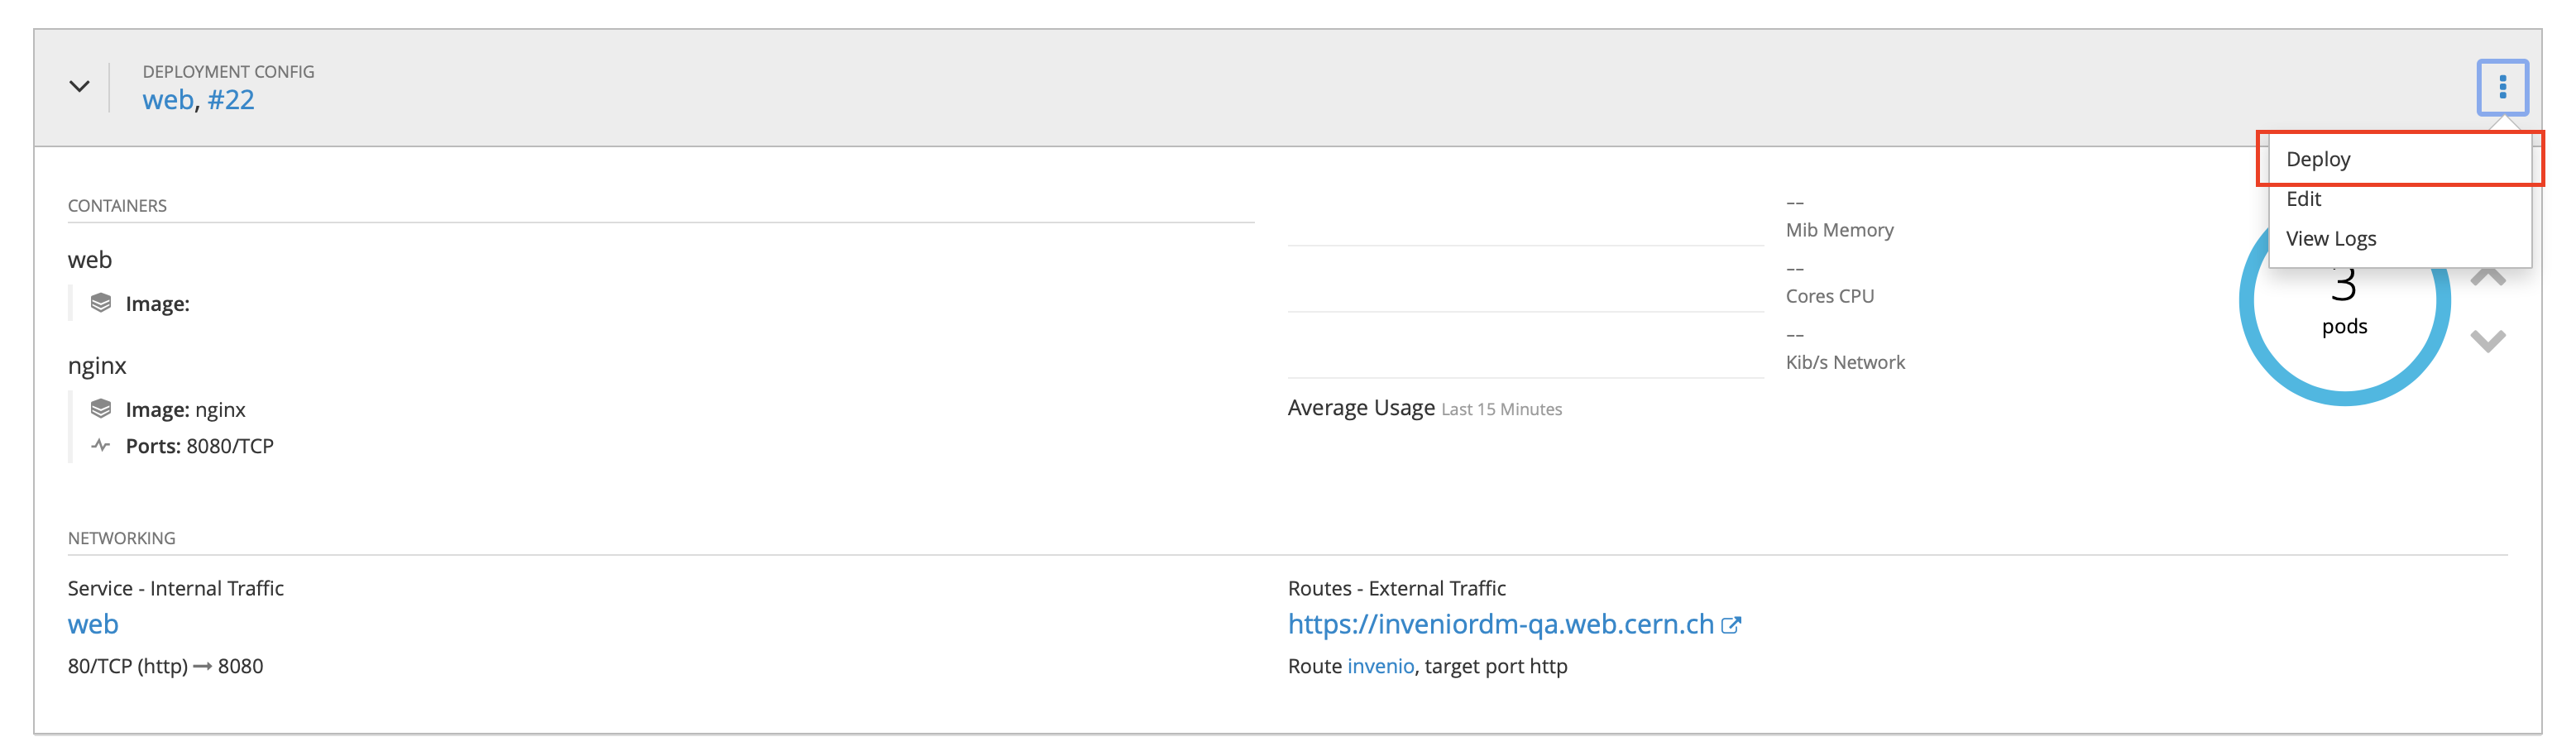
- Merge the PR: this will trigger a new Docker build (on GitHub actions) and push the new
image to the GitHub Docker registry, tagged as
latest. A notification will be sent to the OpenShift QA project which will trigger a new rolling deployment of the web and worker pods to deploy the new image. You can eventually deploy the new image by yourself by clicking onDeployon OpenShift.
2. Upgrade data
Note
This step is only needed if the data model changed, and therefore database and indexes need to be wiped out and re-populated.
You can perform the following steps by connecting to OpenShift on your terminal. However, you can do
the same steps with the Terminal provided in the OpenShift web UI.
- Login in OpenShift and select the project:
oc login https://paas.cern.ch oc project inveniordm-qa - Select one of the web pods to connect to, for example
web-18-wlbqs:oc get pods oc exec web-18-wlbqs /bin/bash -c - Then you need to wipe and re-create the content. All the
inveniocommands needed are available in thewipe-recreate.shscript. You just need to run it. In case you need to cross-check anything (e.g. assets creation) the instance path is/opt/invenio/var/instance/.
3. Upgrade the production site
Once you are sure that the QA site is correctly upgraded and there are no errors, you have to upgrade the production site. The first step is to create the docker image.
Create a new release commit and tag for the latest version in the repository.
Note
The tags naming convention follow the numeration of the invenio-app-rdm package. For example, if you're
deploying invenio-app-rdm==0.25.9, then the new release tag of the demo site will be v0.25.9.
git commit --allow-empty -m "release: v0.25.9"
git tag v0.25.9
git push origin v0.25.9
This will trigger a new docker image build, that will be pushed to the GitHub Docker registry with tag 0.25.9.
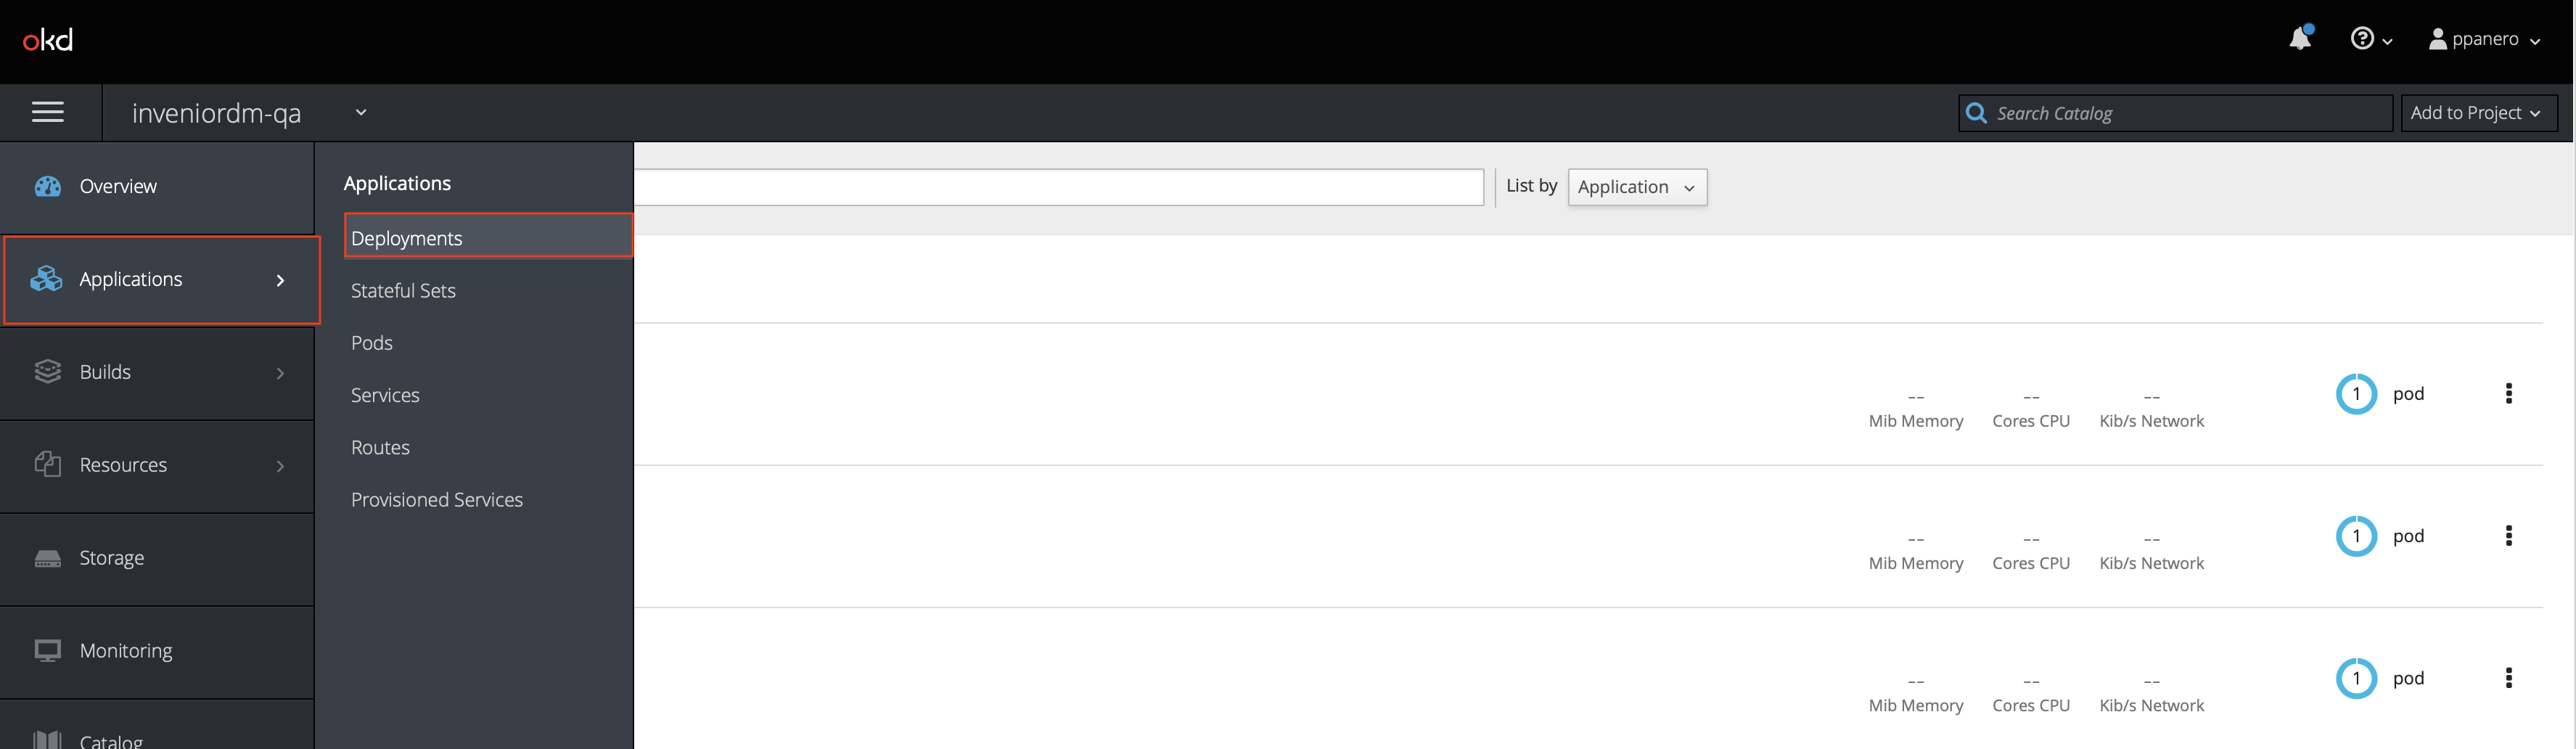
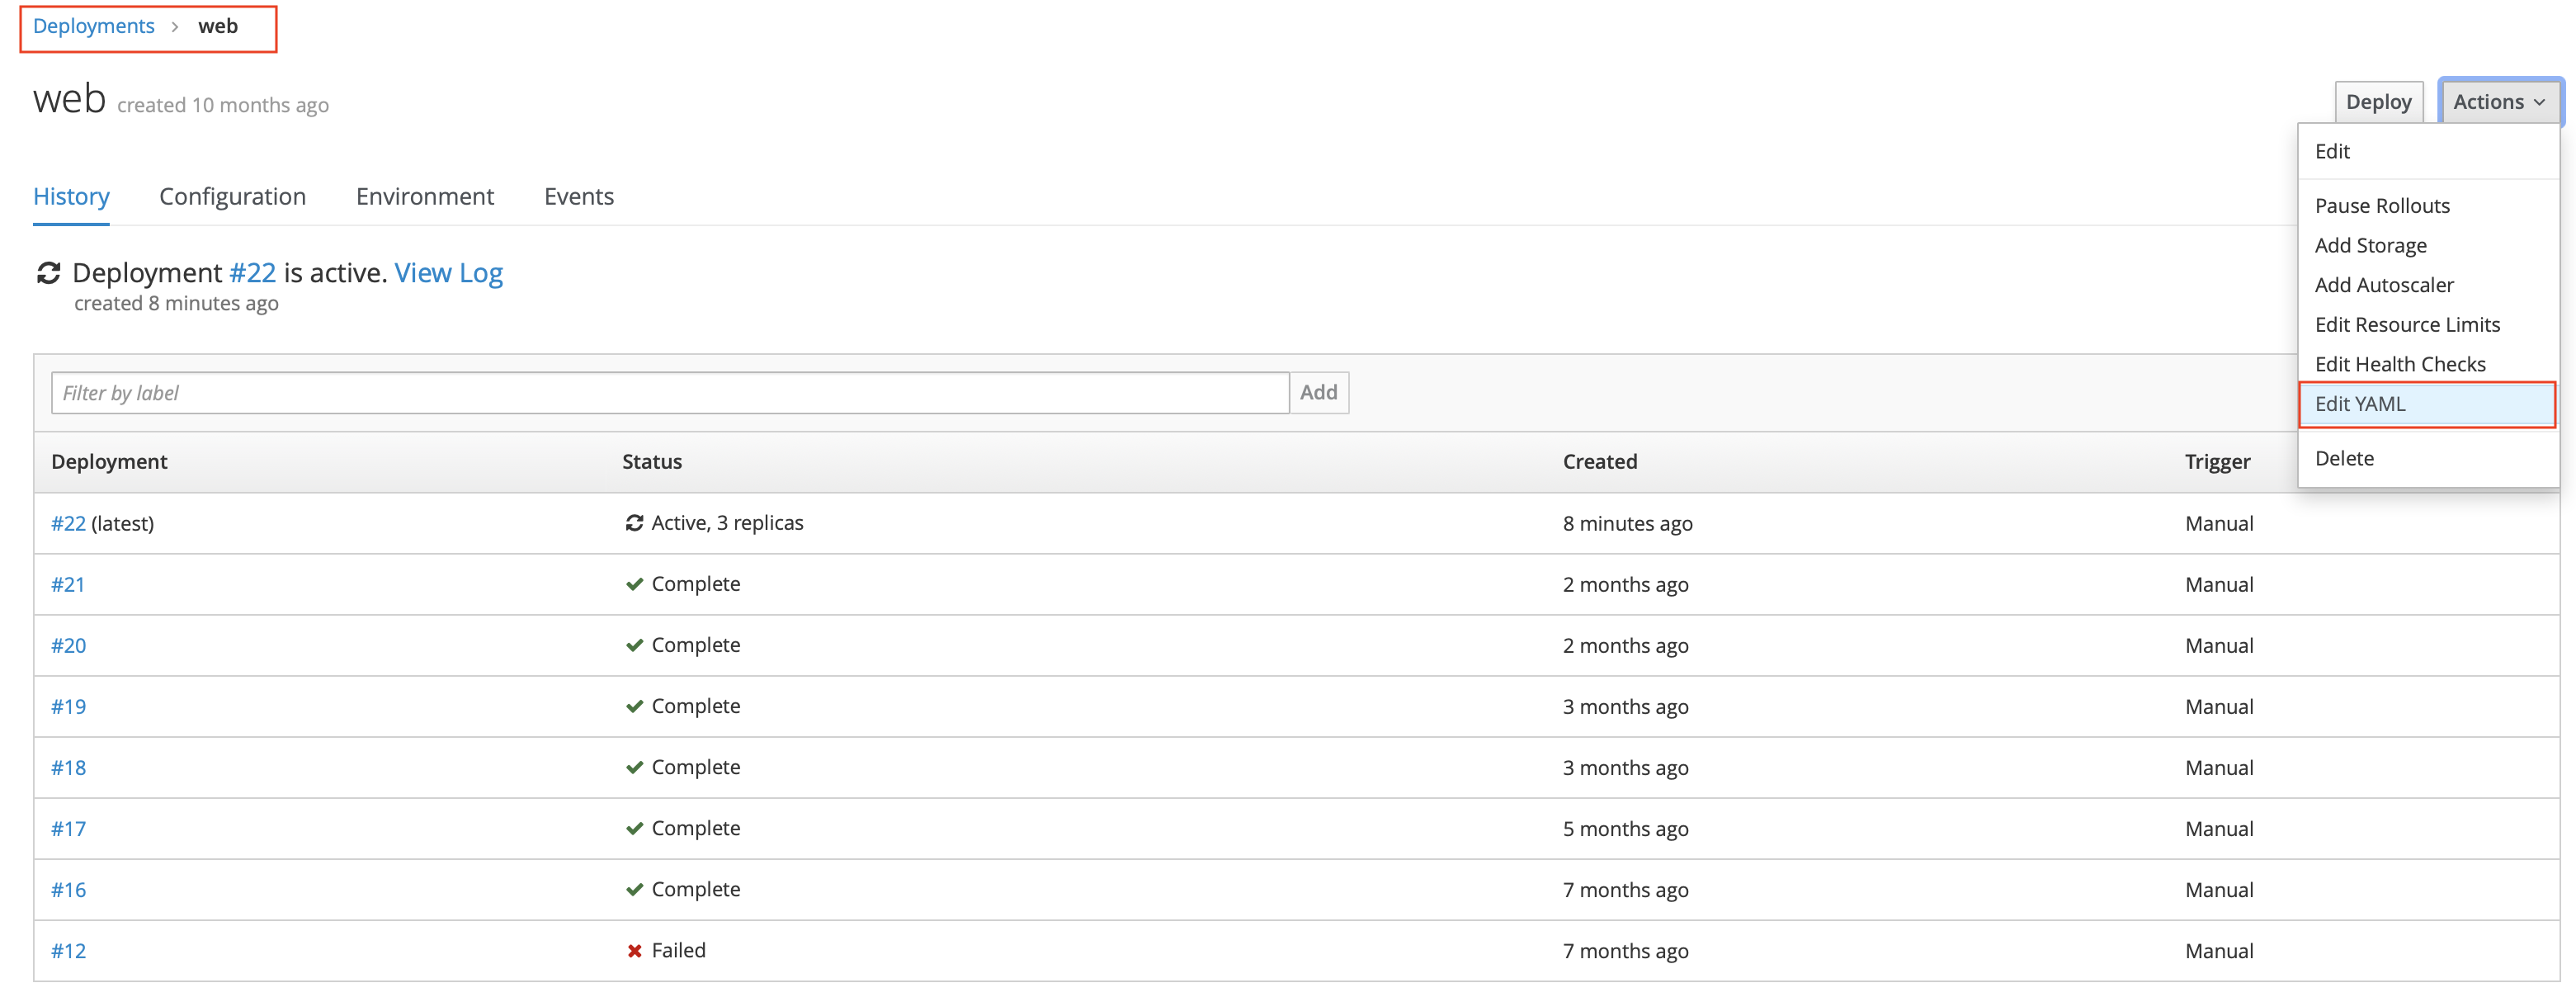
Once the GitHub action succeeds and the Docker image is ready to be deployed, you need to update the references to the images' tags on the OpenShift project. The easiest way to do it is manually on the web UI. For that go to the inveniordm project on OpenShift, then Applications -> Deployment -> Web -> Edit YAML.
The image tag needs to be changed also for the worker pods.
Applications -> Deployment -> Worker -> Edit YAML.
Finally, repeat step 2 to re-create the data on the production site.